

No Products in the Cart
August 2026
Excellent product, definitely recommend it.
Mr DevVerified product review
Reviewed: RAINPOD™ Full Kit

Simple, clever rainwater harvesting. Fill all your water butts from one downpipe and put them wherever suits you. Designed and made in the UK.
Excellent · 4.5 on TrustpilotLearn
Talk to us
Be the first to hear about new products, offers and ways to save more water.
A single water butt runs dry fast in a dry spell. Here's how to link more together, why so many generic connector kits leak or bottleneck, and how a properly engineered kit fixes both.
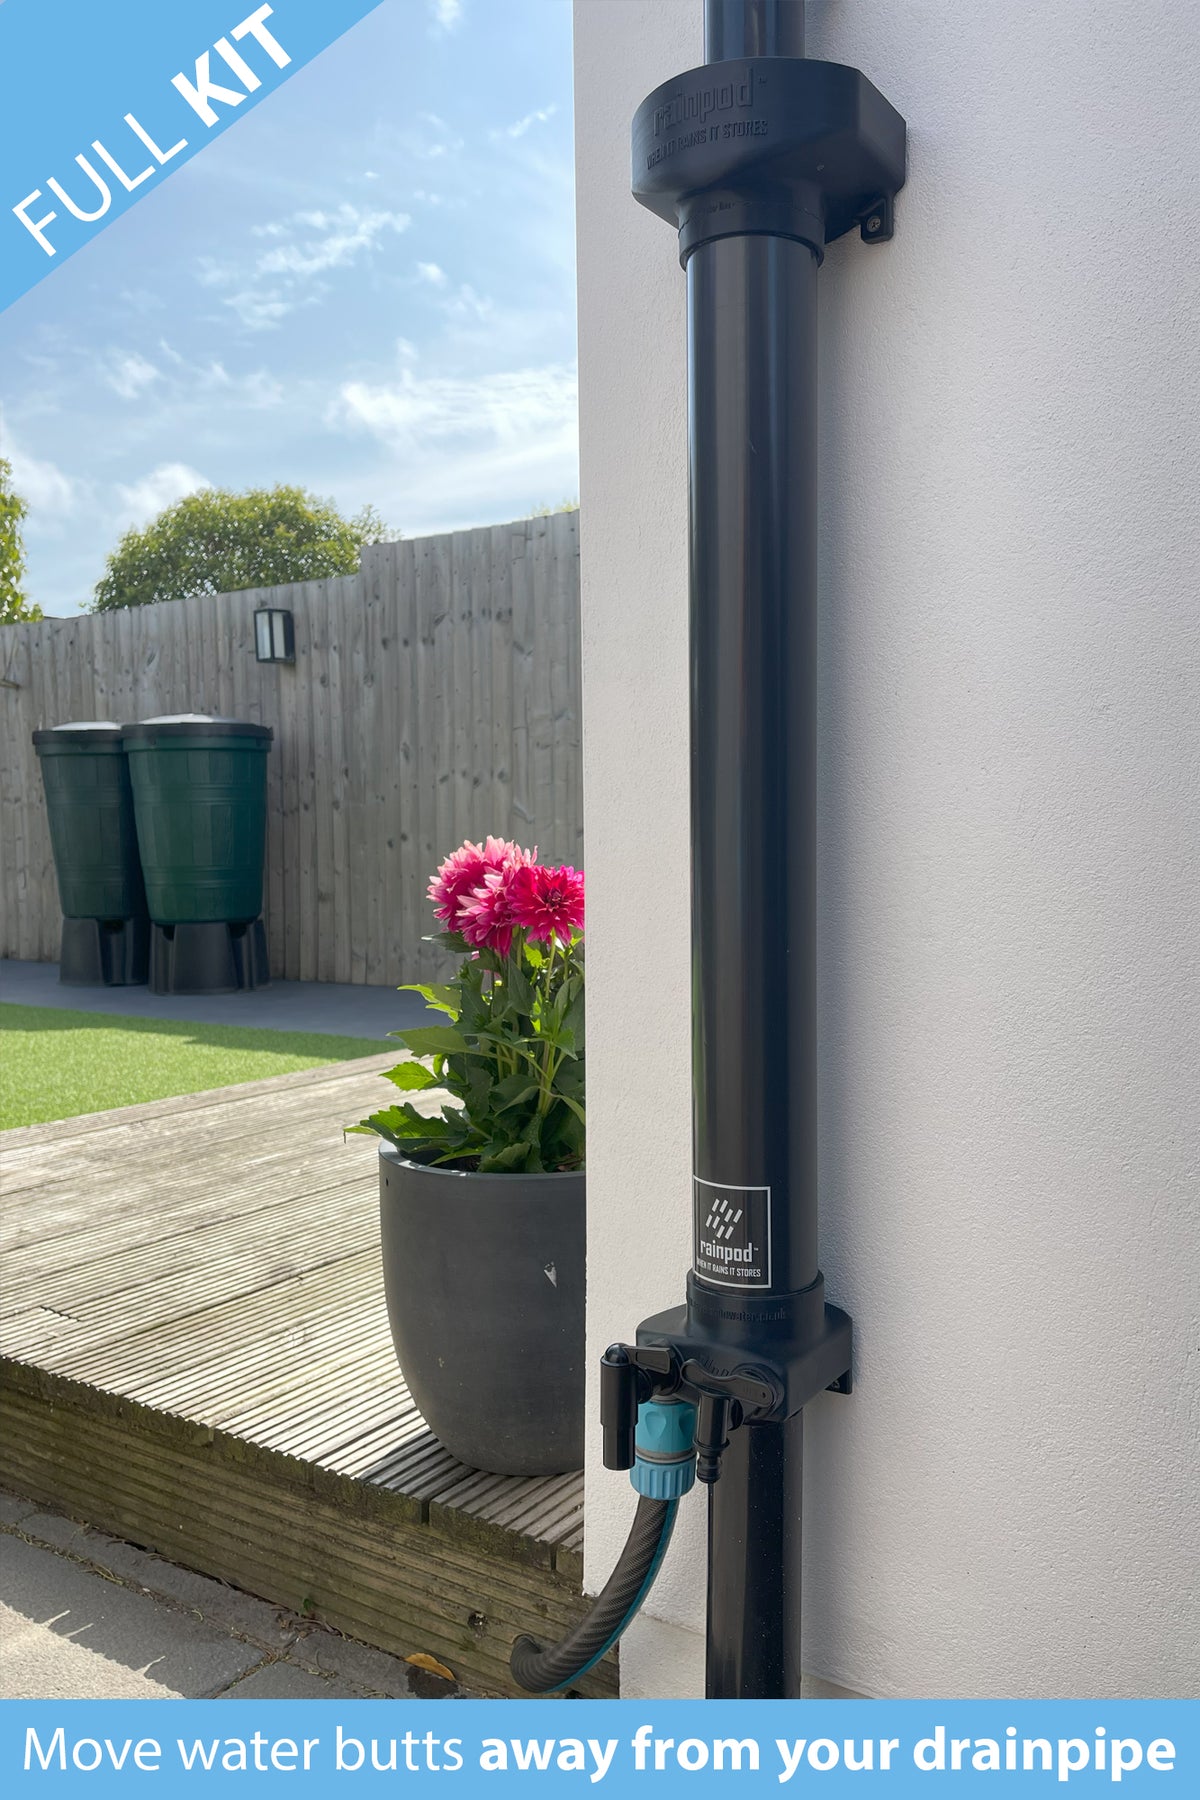
One water butt is rarely enough once you start relying on it seriously — a single 200-litre butt can empty after a couple of days of watering pots and borders in dry weather. Linking two or more together fixes that, and it's a job most people can do themselves. The bit that catches people out isn't the DIY — it's picking the right kit, because a lot of the generic, universal connector kits sold for this job cause more problems than they solve.
Overflow linking connects the overflow outlet near the top of the first butt to the inlet of the second, so water only flows into the second butt once the first is completely full. It's the simplest option, but it's inefficient — the second butt sits empty until the first has overflowed, so you're not making full use of your combined storage until after a decent downpour.
Low-level linking joins the butts near the base instead, so water finds its own level between them as it rains — both butts fill and empty together, like a see-saw. This makes far better use of your total capacity, and it's the method a proper connection kit is built around.
If you search for a "universal water butt connector kit", you'll find plenty of cheap options — but there's a reason they generate so many one-star reviews about leaks and poor flow. Common issues:
Our RAINPOD Water Butt Connection Kits are built to avoid exactly those problems. Every kit includes a 1" premium hose for genuinely fast flow, BSP-threaded fast-flow bends with a proper washer and backnut for a watertight seal (rather than a push-fit that can work loose), and an isolation valve so you can shut off and service one butt without draining the rest of the system. They're built to scale too — the same kit design links anywhere from 1 to 8 water butts, so you're not starting from scratch if you expand later. And if you're not sure what you need, our free fit check means you send a photo of your downpipe and butts, and we tell you exactly which kit and hose length to order — no guesswork, no second delivery.
Best of all, the connection kit is included free with every RAINPOD system — so if you're setting up multi-butt storage from scratch, it works out cheaper and far less hassle than buying a generic kit separately and hoping it fits.
If you don't have a butt in place yet, it's worth sizing your storage properly from day one rather than adding butts piecemeal later. A RAINPOD system arrives with the connection kit included, so you get engineered, leak-free multi-butt storage in one order — no separate parts to source, and no risk of the fitting compatibility issues that come with generic kits.
More storage means fewer trips to the tap, less time spent troubleshooting leaks, and more water in reserve for the next dry spell — or the next hosepipe ban.
RAINPOD™ fits your downpipe and fills your water butts or tanks wherever they sit in the garden. Free to fill, no electricity, fitted in about 10 minutes.
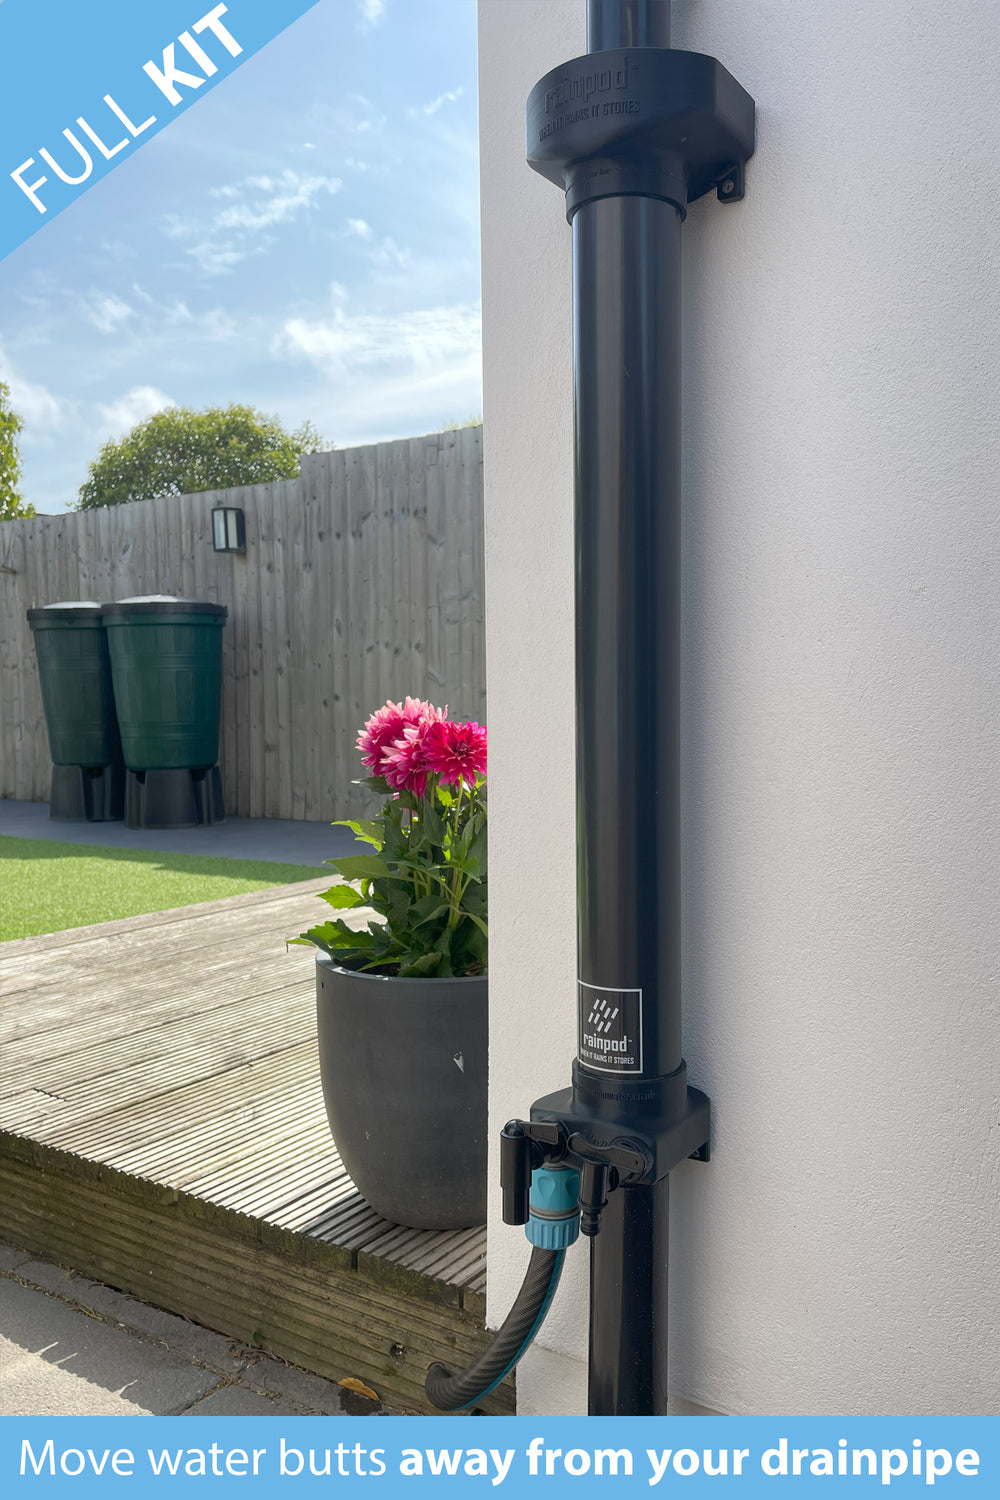
A downpipe rarely lines up with where you actually want stored rainwater. Here's how to get water from the downpipe to a butt (or...
Read article →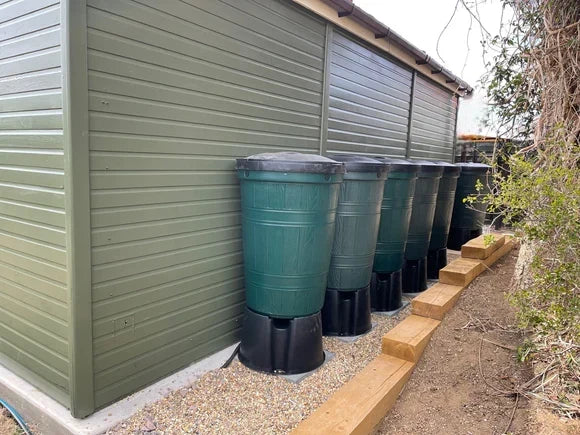
Hosepipe bans are back in force across parts of the UK in 2026. Here's what they actually restrict, why water butts are exempt, and...
Read article →
When you hear "rainwater harvesting," your first thought might be about conserving water or reducing your environmental footprint. While these are incredibly important aspects,...
Read article →
Comments